
French Bread is truly a staple in today’s world. I can’t recall a meal that I don’t enjoy a slice of that crispy crust and soft interior. One reason why I got into making bread was having the aroma of freshly baked bread wafting through the air. I knew that one day, I wanted to only make things myself and ditch buying as many grocery store items.
Sure, picking up a loaf from the store is convenient. But you can’t diminish that there is something special about crafting your own homemade French Bread. Today, we will embark on a culinary journey to discover the art of making this iconic bread right now in the comfort of your own kitchen. You might be surprised by how many items you already have in stock as well as how little ingredients you actually need!
Surprisingly, this is so cheap and easy to make! It’s way cheaper than buying heavy, starch bread from the grocery store.
Homemade bread is something I used to be so scared about. It sounded super daunting… but take it as you will, it’s super easy! I promise, that once you start eating homemade bread, you won’t want to return to the store-bought bread.
You can make these ahead of time and freeze them, make rolls out of them, or make a delicious sandwich out of them. My husband and I are definitely a carb eating couple, and this recipe definitely satisfies those cravings.
INGREDIENTS
– 2 tablespoons active dry yeast (or 2 packets)
– 3 teaspoons sugar (divided)
– 1 1/4 cup of warm water (divided)
– 2 teaspoons salt
– 2-3 cups flour (divided)
DIRECTIONS
1. In a small bowl, combine the yeast, 2 teaspoons of sugar and 1/2 cup of water. Mix and let sit for five minutes or until foamy and bubbly. Make sure you put cling wrap on top of the bowl to cover the mixture.

2. While the yeast mixture is sitting, pour the remaining sugar, (one teaspoon) the salt, and 2 cups of flour into a blender or large mixing bowl. Add the yeast mixture and continue to blend. Gradually add the remaining water. (One cup) Continue to mix until the mixture forms into a dough. Feel free to add more flour if your mixture is getting sticky.

3. Once the dough is formed, put on a floured surface and begin kneading the bread. Do this for a few minutes or until the dough is smooth and elastic. (The below picture is before kneading.)

4. Everyone does this part differently, but I like to flatten my dough out with a rolling pin. The reason why is because this recipe makes two bread loaves, so flattening them and cutting them that way gives them more of a proportional and equal amount of dough per loaf.

5. Once cut, shape the two dough balls into whatever form of bread your heart desires. I love doing big, thick loaves, but you can do small rolls and baguettes as well. You are also going to go ahead and grease a pan to lay these loaves on.

6. Now that your loaves are on the pan, go ahead and score them. (To be quite frank, I suck at scoring bread. Always have, always will! So don’t get mad at yourself because it looks a bit wonky at times.) Scoring calls for a very slim knife, so if you don’t have that then it’s not going to have the perfect results. But if it’s alright if you don’t have one!

7. When finished scoring your bread, put a dish towel on top of the bread and let rise for thirty minutes. While this is rising, go ahead and preheat the oven to 450 degrees. You will also need to put a pot full of water on the bottom of the stove so it can create steam for the bread while it’s cooking. Once the bread has risen for thirty minutes, place it in the oven for 15 minutes or until the outside is hard and crispy.

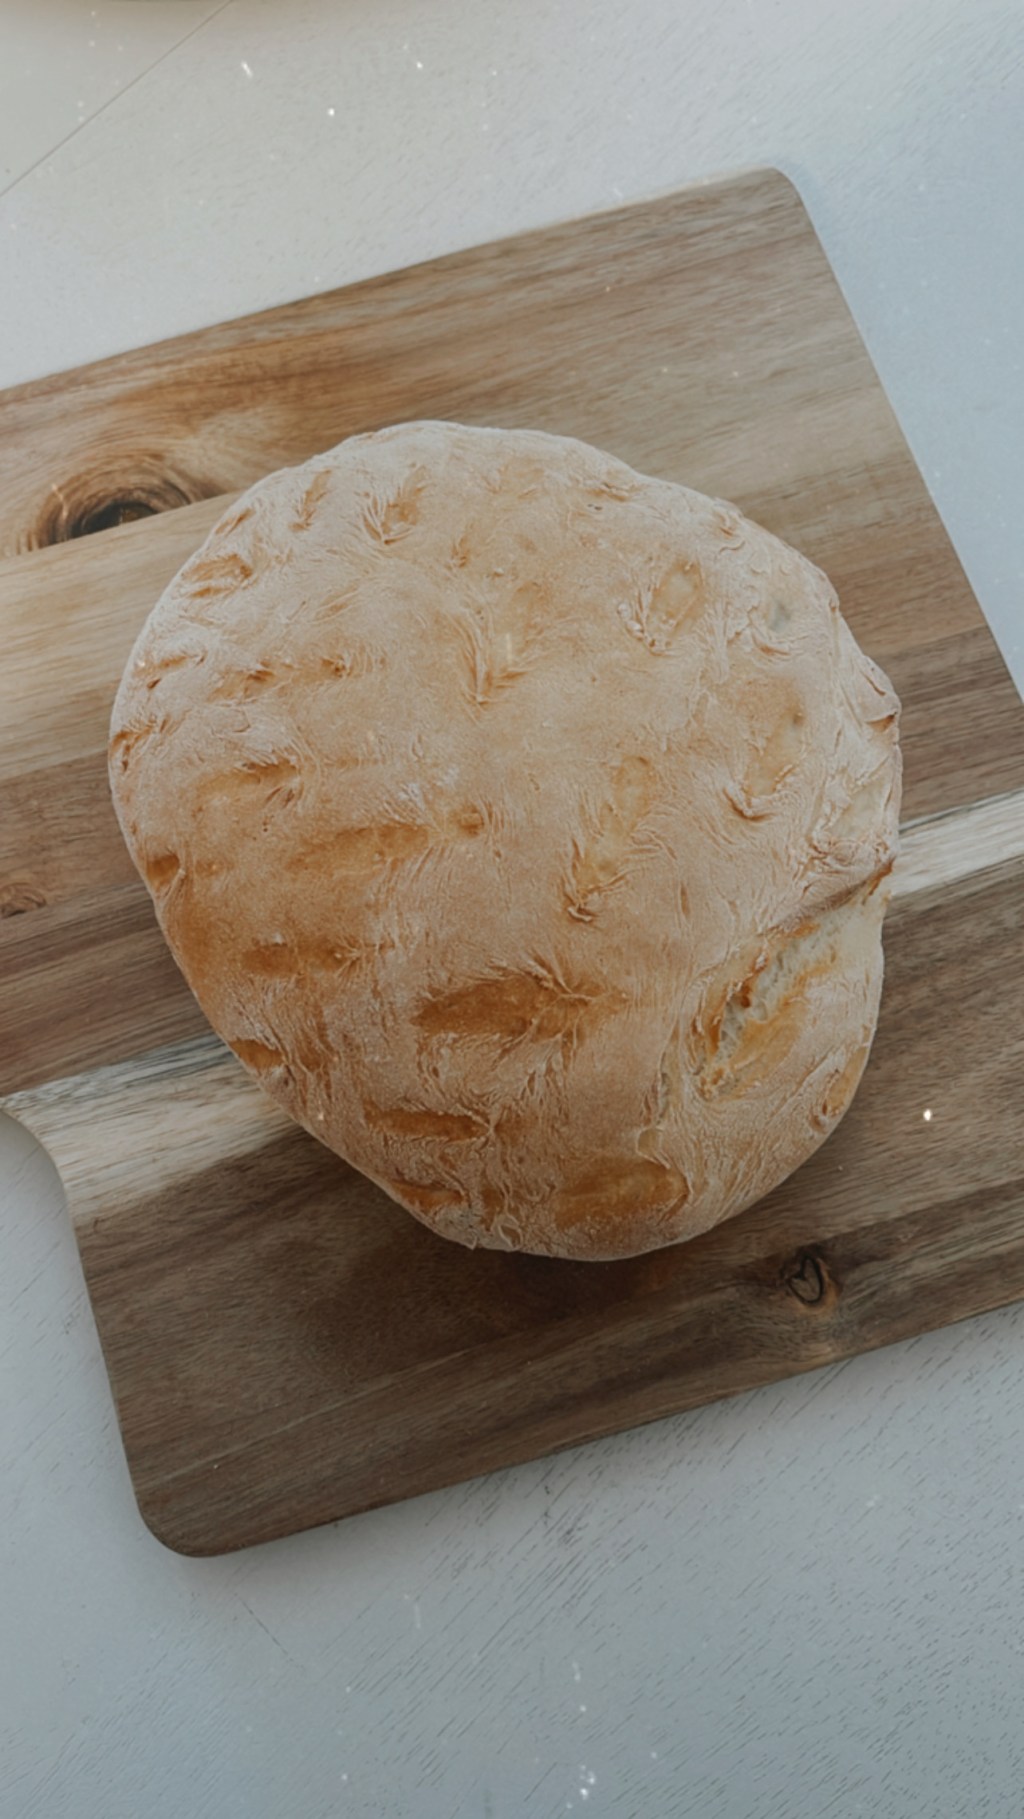
(See!! I am not good at scoring!)
8. Once done cooking, pull the bread out and spread some melted butter on top. (The butter is not absolutely necessary, but it is delicious!) All that is left to do is serve this with jam, honey butter, or whatever your heart desires. Enjoy!
After making and learning how to cook bread, I realize it truly is a labor of love that brings joy to those who bake it and those who savor its deliciousness. My husband and I say that whenever we want to taste Europe, we pop this into our oven and enjoy the satisfaction of creating something from scratch and from our own two hands.
Feel free to leave your own bread techniques or recipes in the comments! There are tons!
